The short answer
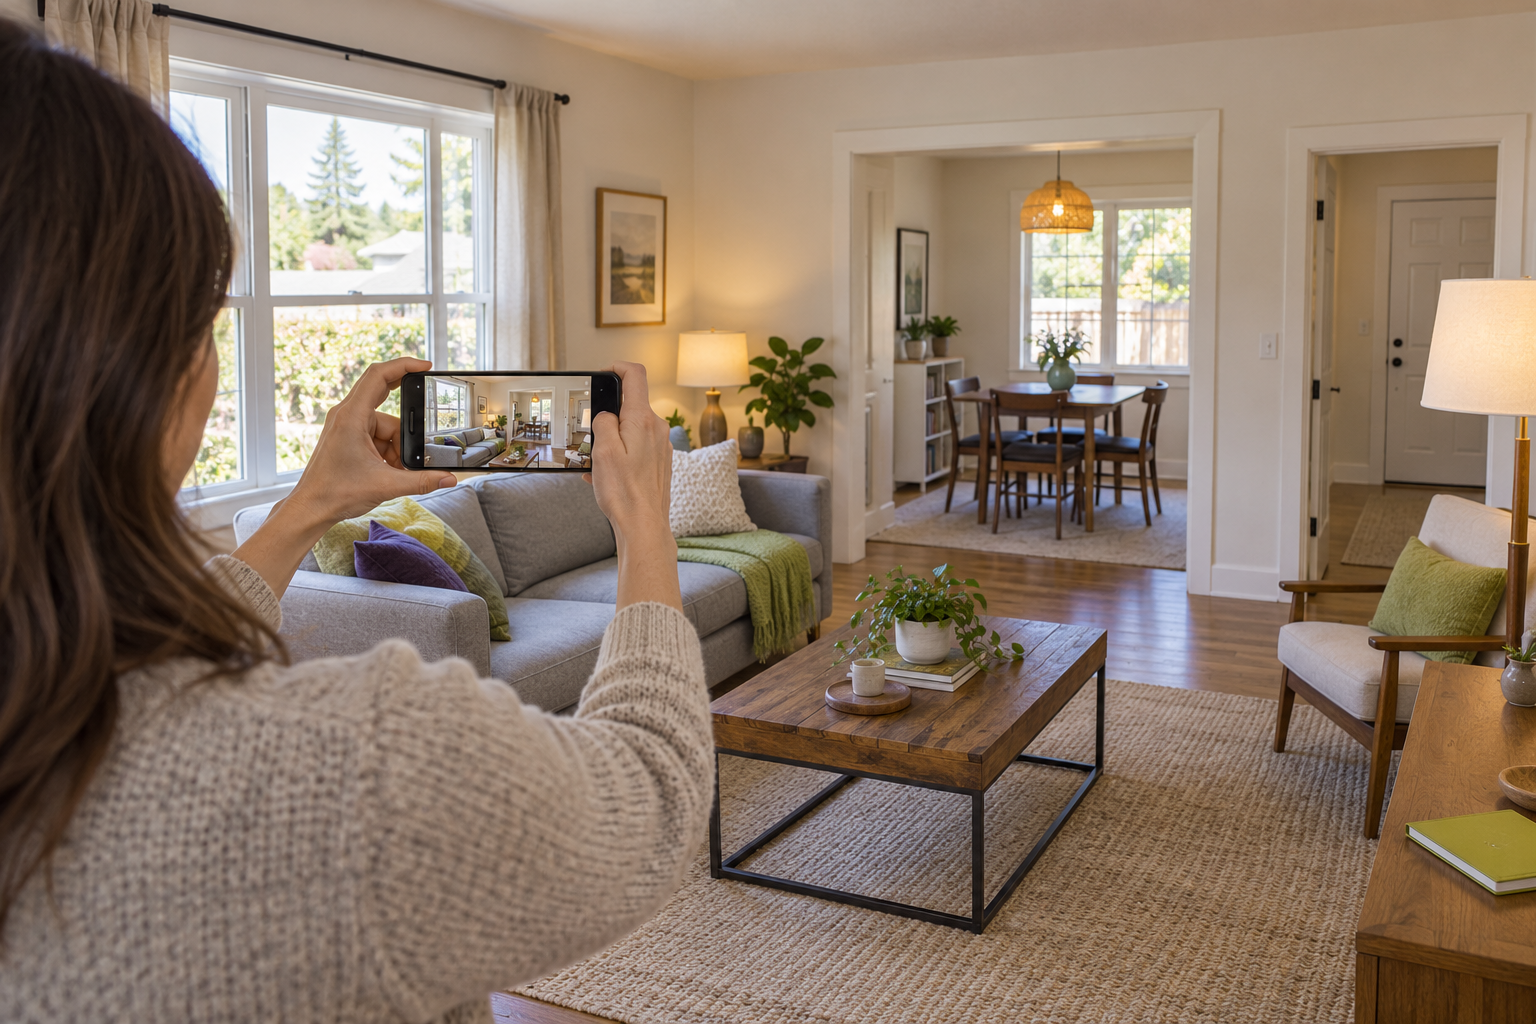
Use balanced light, level framing, and a room-by-room sequence to show the actual rental clearly without distorting its layout or condition.
On this page
Prepare the actual unit
Photograph the unit that is actually available, after ordinary cleaning and safety work are complete. Move temporary clutter that blocks a useful view, but do not cover damage, remove a fixture from the image, or rearrange a room to imply extra space. Turn on the room lights, open curtains where practical, and secure personal papers, keys, access codes, medication, and valuables.
If a resident still occupies the home, coordinate access and protect their privacy. Avoid including people, family photos, mail, or identifying belongings without permission. A camera-ready room should still look like the real home a prospective renter will visit.
Balance daylight and room lighting
Daylight usually makes it easier to see the room's colors and surfaces. Choose a bright part of the day, open blinds or curtains, and turn on fixed lights if they help reveal darker corners. Take a test photo and check the window and interior together; a bright window should not leave the rest of the room unreadable.
Hold the phone steady and tap the important part of the scene to check exposure. Avoid a harsh flash when it creates glare or a bright spot, and keep edits modest. Correcting a small exposure or color cast is different from changing the apparent condition, view, or brightness of the home.
Show how the rooms connect
Start near a doorway or corner so the viewer can understand the room's shape and how it relates to the next space. Photograph the main view first, then add a smaller number of close views for useful details such as storage, appliances, or a work surface. A sequence that follows the home's layout is easier to understand than several nearly identical angles.
Include the important parts of compact rooms as clearly as possible. If one frame cannot show the bathroom or kitchen without distortion, use two honest views and let the description explain what the pictures cannot establish. Photos do not confirm dimensions, private access, or whether an amenity is included; state those facts separately.
Keep lines level and perspective natural
Hold the phone upright and level. Use the camera grid or a stable support to keep door frames and window edges vertical and the horizon straight. A tilted camera can make an ordinary room look skewed.
Use a moderate wide view when the room is small, and step back when there is safe space. If an ultra-wide lens bends edges or stretches furniture near the frame, switch to the standard lens and take another view. Show more of a room without suggesting that it is larger than it is.
Keep the pictures faithful to the listing
Do not digitally remove a defect, add a feature, replace a view, or alter a room's apparent size. If a feature has changed since the picture was taken, replace the image or explain the difference before publishing. Label a shared laundry room, courtyard, or fitness area as a community amenity rather than implying that it belongs to the unit.
Keep an unedited original with the listing record. If you use virtual staging or substantial editing, check the platform's disclosure rules and applicable requirements, and make the change clear to viewers. A photograph should help someone understand the home, not substitute for a condition report.
Order the gallery and review it on a phone
Lead with a clear view of the actual unit, then arrange the remaining photographs in the order someone might walk through it: entry, living area, kitchen, bedrooms, bathrooms, storage, and any outdoor or shared spaces. Remove duplicates and blurry images. Use short captions for details that are easy to misunderstand, especially shared amenities and features with limits.
Before publishing, review the finished gallery on a phone and a larger screen. Check that each image is current, upright, readable, and consistent with the rent, availability, and written description. Follow the platform's image requirements and review the words, photos, and ad delivery under the applicable fair-housing rules; HUD's Fair Housing Advertising guidance includes rules for visual aids, and state or local protections may add requirements.
Sources and further reading
Keep learning
 Choose a photographer and useful extra views
Review a photographer's comparable interior work before hiring. Agree on the actual unit, access and resident privacy, room coverage, image rights, editing limits, delivery format, timing and total price. Ask for level, believable views and clear treatment of shared spaces. Prepare rooms first, stop moving fans and check mirrors for people or private information.
A twilight exterior, aerial image or 360-degree tour may help explain a particular feature, but should supplement clear ordinary room photos. Confirm required permissions and qualified operation for aerial work. A night view should not conceal the daytime condition; a tour should not replace current photos or written dimensions. Review the finished set against the actual home before publication.
Archive years group longstanding rental topics. This Rentari guide was published on 2026-10-05.
Written and maintained by the Rentari team. Examples explain a decision; they are not customer results. Found an error or an unclear step? Send a correction with this page's address and the detail to review.
Your next step
Advertise on 25+ listing sites